I am taking a few days off from all this cleaning and fixing up our spare bedroom for my Craft room. I have had a hard time choosing a paint color. You know that commercial where she says she want a purple but not a purple??? well that is what I have with my green I want. I want to walk in the room and feel a calm come over me but so far the green on the paint chip and in the test can has been a bit to bright for me to feel calm. So I have worked on a few cards and my dear friends owl till I can decide on the right green for the room.
The card I am sharing today was inspired by one I think I saw on pinterest but who knows really where I saw it lately. I have been so exhausted with all the cleaning that when I did go on the computer at night it was brief and who knows? I cannot give credit to the right person so I am sorry for that. The Card used her snow falling embossing folder and then she colored the dots different colors to give it the sprinkles look. I took it a bit further and added the "sprinkles" to the shape I used on the front of the card. This makes the card look as though the sprinkles did fall onto the raised cupcake and gives the card another texture as well as dimension.
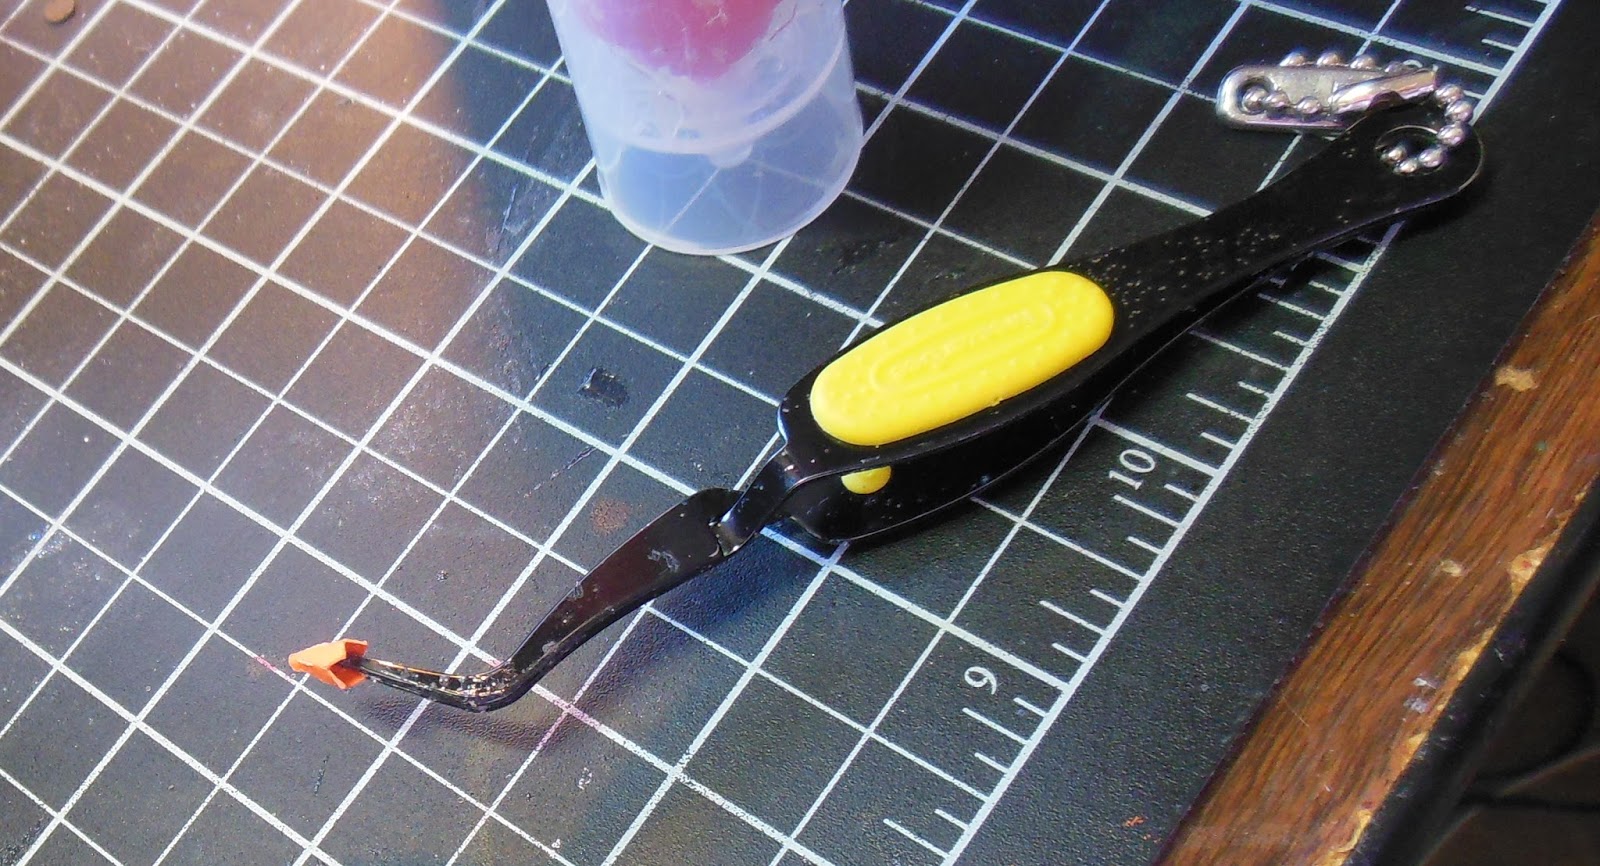
Since my hubby's B Day is on the 30th and this is close to a big deal for him I wanted something fun and special. I used a cupcake from a Hero Arts Clear stamp set I have called Cupcakes and the number on is it CL158. I colored that in with my Copic markers then I fussy cut it out. I don't fussy cut if I don't have to as my tendonitis frowns upon it. (well worth the pain it would cause me in my hands cuz it was for hubby) Then I embossed only part of the cupcake. have a colorless Copic Pen that is supposed to push the color out of certain areas. I used that for some of the "sprinkle" parts of the cupcake that I wanted the color to be true on.
Then I made a homemade Wobble Spring. I would highly recommend using a purchased one as they are sturdier and probably able to withstand playing with more. I don't have a craft store in my town so to drive 100 miles and find out they don't have wobble springs at Micheal's or Joann's was not my idea of fun.Here is how to make your own wobble spring: 1. Cut off about a 2 to 2 1/2 inch length of wire. I used a smaller gauge wire I had. 2. Cut two 1 inch circles out of a heavy card stock. I have 120lb card stock I use to color on using my Copics. I will list where I purchase it on the bottom of this post. 3. I used clear packing take to adhere the wire to the inside of each circle. Cut about a 2 inch length off the roll and cut the 2 inch piece lengthwise into two pieces. 4. wrap your wire around a pick up tool or something about that diameter around, about 3/4 of an inch is my guess. You want it to look like a mini spring. I wrapped mine around about three times. 5. Tape one end of your spring to the inside of one circle laying the tape over the half coil. I trimmed off the excess tape that went over the edge of the circle with scissors. 6. Do that again on the other side with the other circle. Then I glued the outside of my spring to the back of my cupcake and made sure it was secure before I glued it the the "sprinkle" background.
The background was made using my Sizzix Falling Snow embossing folder and carefully coloring the dots to look like sprinkles. I also turned the embossing folder piece upside down so the accumulated snow was at the top not the bottom. This is how the card was that I saw and I thought: What a clever Idea!!!!! and cost effective too as that gives the folder another use! Love that for sure, the cost effective part. After the cupcake was on and the card was all put together I added some clear Wink Of Stella glitter Pen to the sprinkles to give it a more festive look.
The banner was made using the Phrase stamp in the set and some Versa Mark ink. Add some white embossing powder. To make the banner fold a bit I scored it on my Martha Stewart Score Board in two places one each side then folded. To get a good V cut take your scissors and cut a line straight down the middle of your intended v. Then cut from the edge of the one end into the center of your straight cut and do the other end the same. This insures you don't have a lopsided "tongue" cut.I adhered the ends of the banner to the edges of the card and there you have it. The inside is a single candle(59 this year so no room for 59 candles) LOL and says Happy Birthday. I will include a photo of that as well.
Now when he opens it the cupcake will spring from side to side. Sort of a I know your turning 59 but you can still be silly and have fun Card. This from a man who can get me laughing so hard I either can't breath or I am crying or both. So that is it my silly card I hope you liked it. I had wanted to do a valentines card using the same theme just with a heart with arms but I used the freebie Valentines Lion instead. I cut an extra head and made the head wobble then put tiny googly eyes on it as well.
So that is it Y'all thanks so much for stopping by. A small update on the craft room. I have everything organized and ready to be moved into the closet in the "new" craft room. Here is my dilemma. The shelves haven't been built yet. So while I wait for our Handy Man to build the shelves, I'll pick my paint color and we'll get going on painting the room. Since our house is old and the walls are lath and plaster and we do not own a stud finder I need the handyman to tell me where the studs are around the room so I can build my around the room desk. Well I hope I can I never did woodwork before but Hey I'm not letting THAT stop me. LOL I promise to have pictures when I am all done. Have a super crafty Day Y'all and Happy Craftin!
 Blessings Sharalyn
Supplies used:
Hero Arts CL158 Cupcake Stamp Set
Simon Says Stamp 120 lb Card Stock
Stampin Up Tempting Turquoise Card Stock (card base)
Stampin Up Red Riding hood Card Stock (banner)
Sizzix Falling Snow Embossing Folder
Copic Markers
Stampendous White Emboss Powder
Wink Of Stella Clear Glitter Pen
Homemade Wobble spring
Versa Mark
Memento Tuxedo Black Ink( stamping my design for Copic coloring)